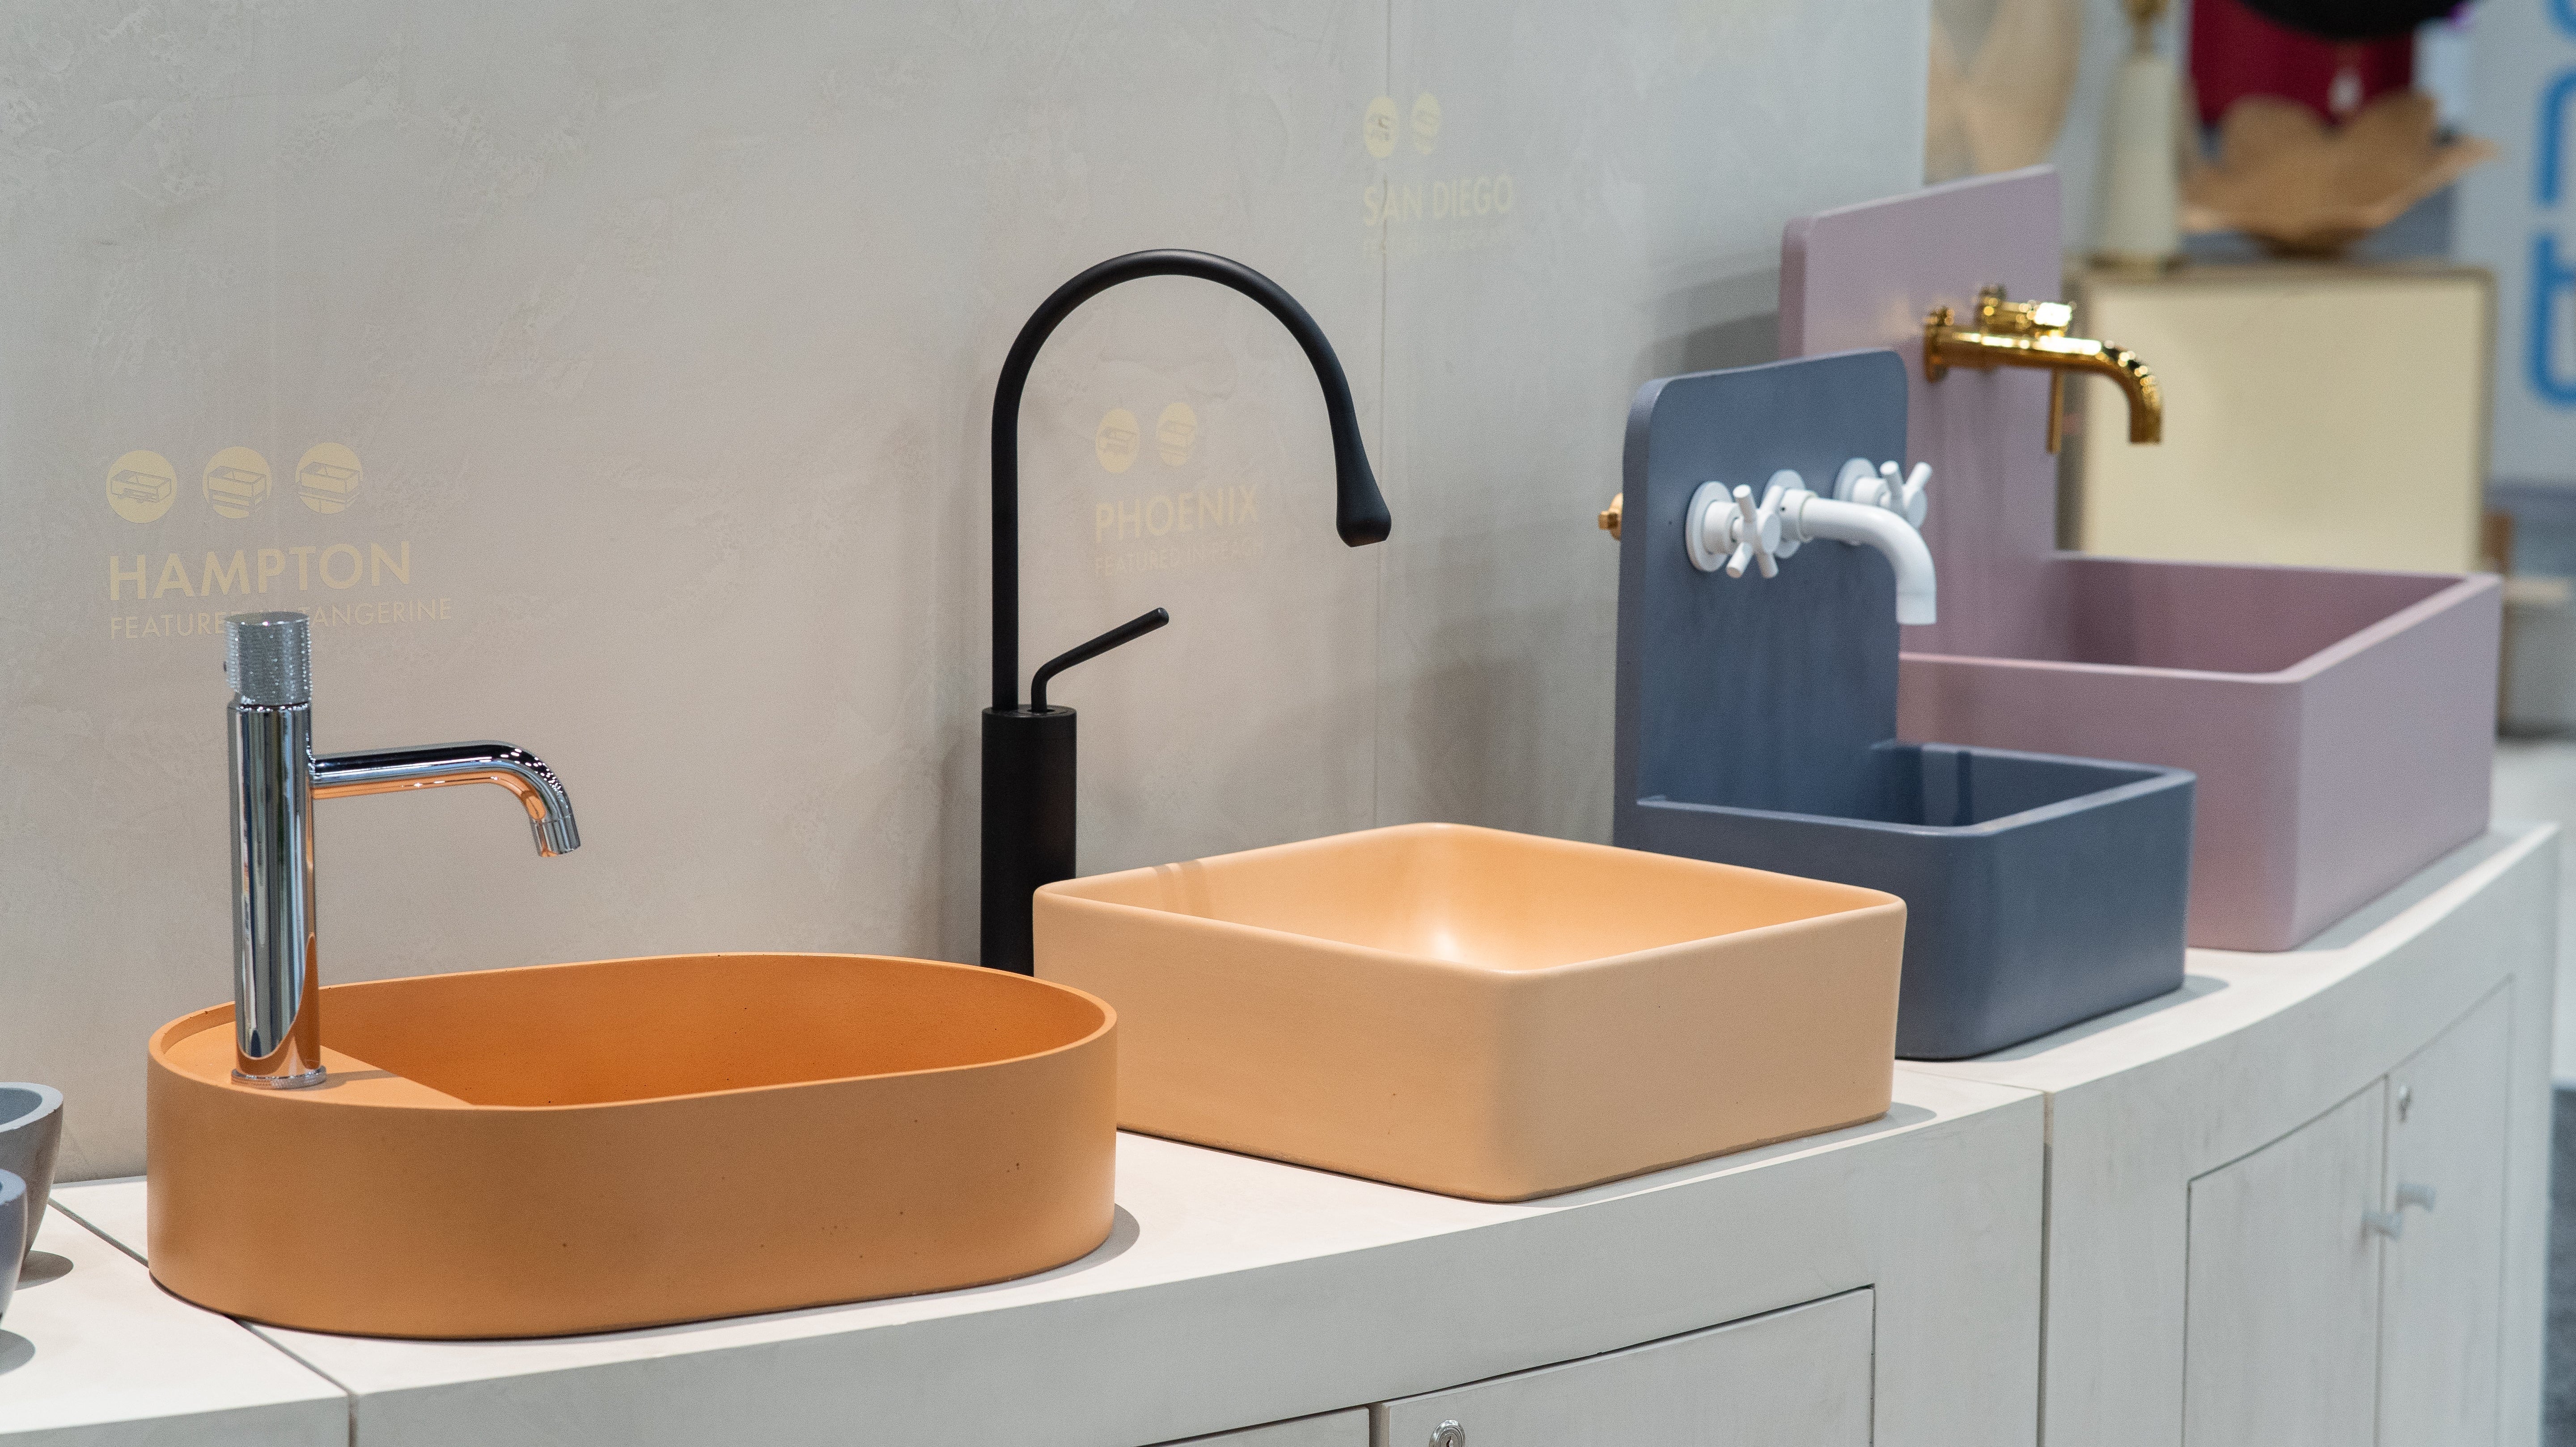
There are so many reasons why one might chose a bucket sink. With a deep basin, and a built in backsplash, these sinks can add designer quality to any space, without sacrificing practicality.
This guide was created to help individuals install our Bucket sink collection with our wall mount brackets, please consult a professional for any plumbing and contracting assistance you may need. We do not recommend you attempt to install one of our wall mounted bucket sinks without the proper wall mount brackets or tools.
![]()

2. Make sure your wall can support your new sink
When hanging anything, you want to make sure your wall is suitable for wall mounting. This is especially true for a heavy, frequently used item like a sink, you may even have to reinforce your wall. After you’ve made sure that your wall can support the sink, Use a stud finder to find a durable fixing point for your brackets. Then, measure and mark where you want the bottom of the basin to sit, as well as the center of the sink.

3. Make sure your sink will be level.
Align the bracket with the markings you made in the previous step and with the help of your level and a pencil, mark a straight line across the top of the bracket. This will be your guide as to where the sink will sit on top of the bracket.

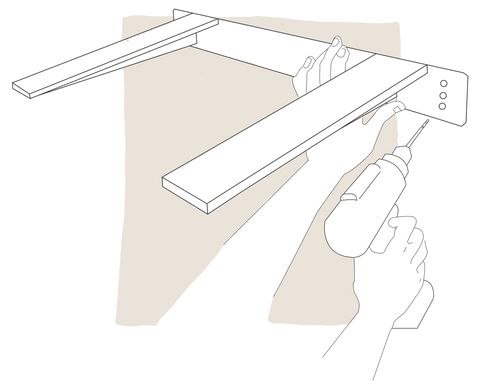
4. Install the bracket.
Hold the bracket up to the line and mark the holes with a pencil. Once you are sure the placement is correct, affix the bracket onto your wall with the correct bolts for your wall.
5. Mark the correct place to begin the Rough In Installation
Place the sink on the bracket, to accurately mark the faucet holes with a pencil. Be careful not to glue it down just yet. After you accurately mark the holes, you may begin installation for the faucet rough in valve. we recommend consulting a professional for this step.

6. Install the sink to the bracket
Once the rough in valve installation is complete, apply a generous amount of Silicone to the top of the bracket. Place the sink on top, making sure it’s aligned with the faucet rough in valve. Remove any excess silicone with a microfiber towel. Wait a recommended 24 hours for silicone to dry completely and be sure the sink is tightly secured to the brackets.

![]()
If you’ve gotten this far, you’ve successfully installed your sink! Now all you have to do to finish up, is attach your faucet, drain, and bottle trap.

For a printable version of this guide click here.
Have any questions about this blog post? Contact us!